Tips For DIY Newborn Photos

If you’re expecting a baby or your baby has already arrived, you’ll know all too well just how expensive a new little human can be. But just like every new parent, you’ll want to take a gazillion photos of your gorgeous newborn baby to remember those first few weeks. For some parents, newborn photography just isn’t within the budget. Or, maybe they’re just too darn exhausted to contemplate leaving the house. But whatever your situation is, there’s NO reason to miss out on super-cute newborn photos of your little one. Especially if you follow The Ultimate Guide to DIY Newborn Photos.
So, while your photos may not be as professional as a newborn photographer’s, this simple Guide to DIY Newborn Photos will give you useful tips and tricks so you can capture some beautiful photos of your baby on your iPhone or camera.
What You’ll Need For Newborn Photos
Now before you turn into a real-life Anne Geddes, there are a few things you’ll need to grab. All these items are usually found around the house, so you won’t need to venture out to buy anything for your own baby’s photoshoot.
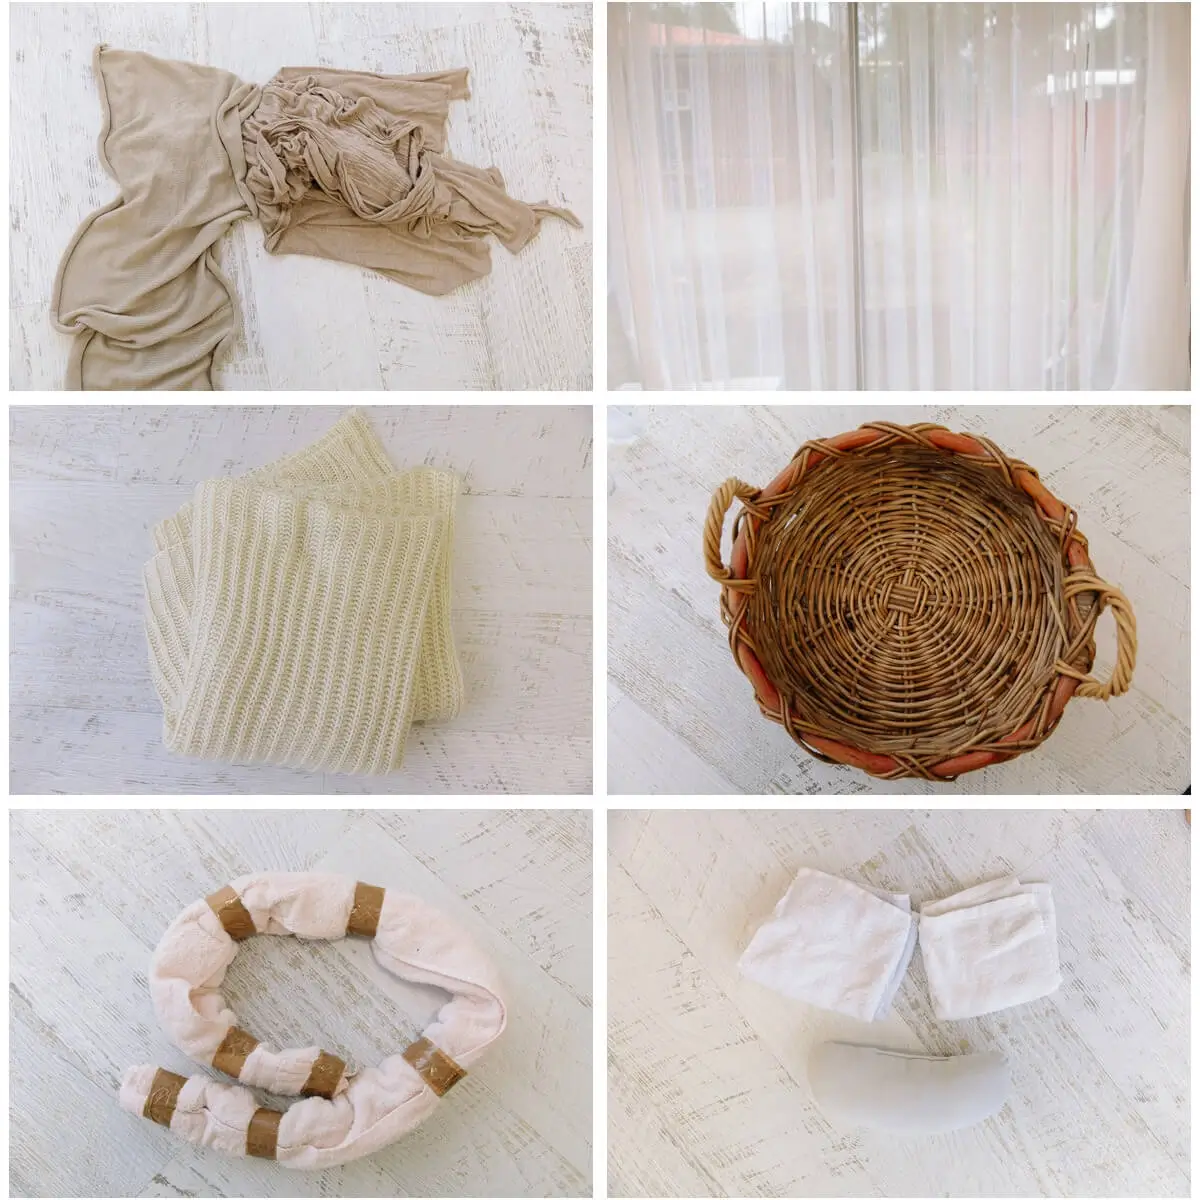
Items You Need
- Camera or phone
- Stretchy fabric for wrapping (buy a piece of stretch fabric from Spotlight as baby wraps don’t stretch)
- Plain chunky knitted blanket
- Face washers or cloth nappies
- Soft pillows or thick blankets for baby to lie on
- Bath towel
- Big window with good natural light
- Basket or bowl (optional)
- Accessories or small stuffed toys if wanted
- Small heater
- White Noise app
Ready? Let’s Begin Your DIY Newborn Baby Photos
Okay, once you’ve gathered up all the items from the list above, it’s time to set up your home baby photoshoot.
It’s easier to set everything up before you start, rather than trying to do it while settling your baby.
Here we go…
Prepare The Room For Your Baby
Now, there’s no point going to all this trouble if the mood for your baby’s photoshoot isn’t perfect.
We all know a baby won’t settle if there’s noise from the neighbour’s mower or the family dog is barking at the door.
Choose a quiet room in your house and preferably one with a big window and lots of available light.
You’ll need lots of natural light to ensure good exposure of your newborn’s photos.
If it’s cold, bring a small heater to warm the room but do not have it too close to your baby.
Alternatively, change your air-conditioner to warm and set it around 24 – 26 degrees. While you may get sweaty, just remember your baby was snug and warm in your tummy for the past 9 months and loves to feel warm.
Preparing your baby for their photos
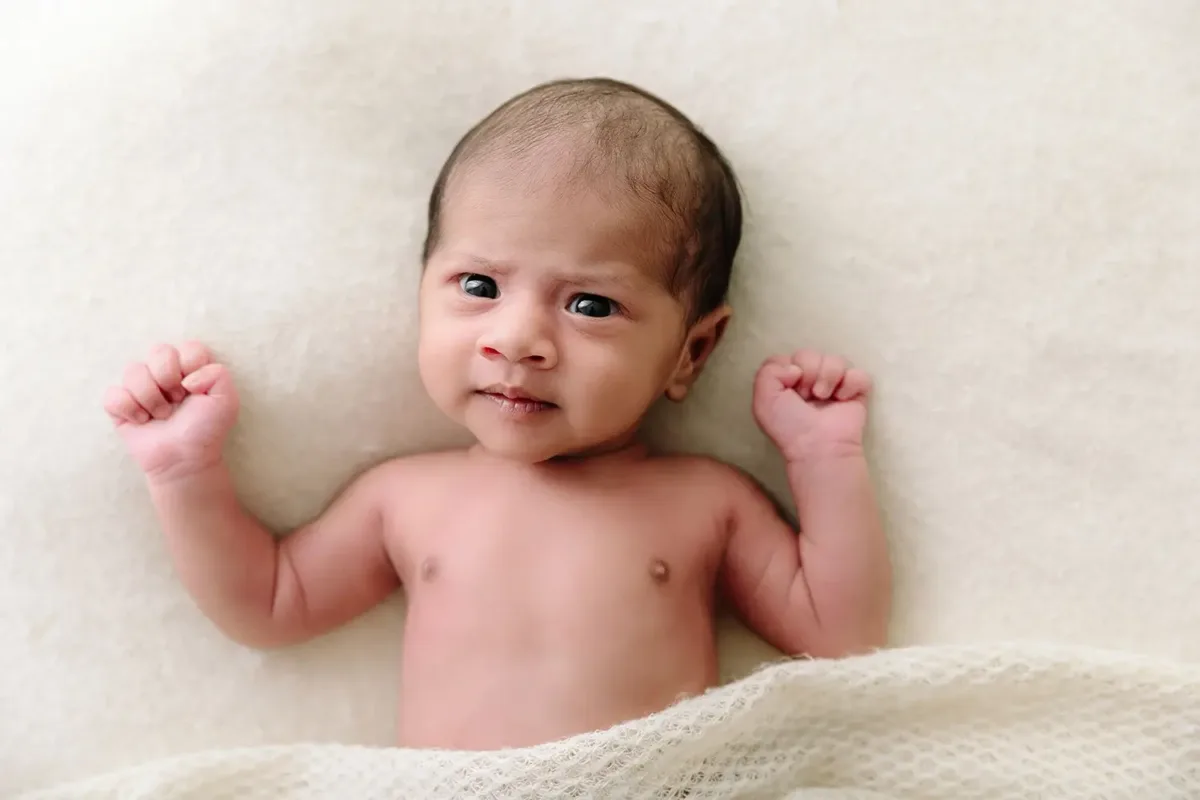
The best time for taking newborn photos is within the first 3 weeks of your baby’s arrival. This is because your baby is the sleepiest and the smallest they’ll ever be.
Which is perfect if you love those suqishy newborn poses and capturing their tiny details.
Personally, I find between 2-3 weeks is a good age.
Because by this time, both Mum and baby have settled into some kind of routine with feeds and sleep.
Choose a time of the day when your baby is more settled and give them a big feed so they’re nice a milk drunk for the photoshoot.
I find for most new babies, this time is usually mid-morning.
Setting The Mood
There are many baby toys and apps that provide white noise which helps settle your baby.
If you don’t already have one, try downloading the free Baby White Noise app from the Apple Store.
I play this in my studio during newborn sessions to help newborns sleep.
And I can tell you, it works on parents too 🙂
Prepare Your Backdrop
Once your room is organised it’s time to prepare the basket, bed or bowl your baby will lie in.
Now, if you don’t have a basket you can simply use a couple of pillows on the floor or on the bed.
The important thing to remember is, it must be SAFE.
It needs to be steady, secure and able to hold your baby snugly.
If you’re using your bed or pillows on the floor, simply make a bowl-shaped hole with pillows and blankets.
Once you’ve done that, place your chosen blanket over the top.
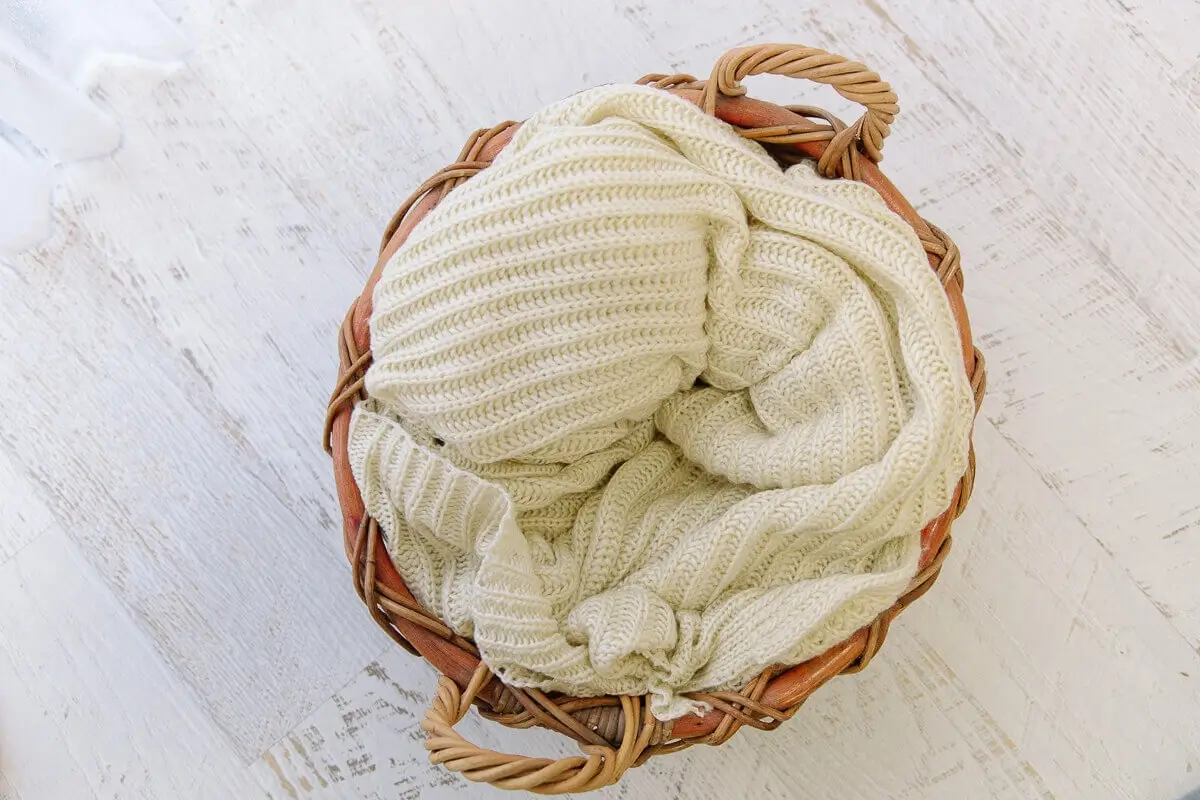
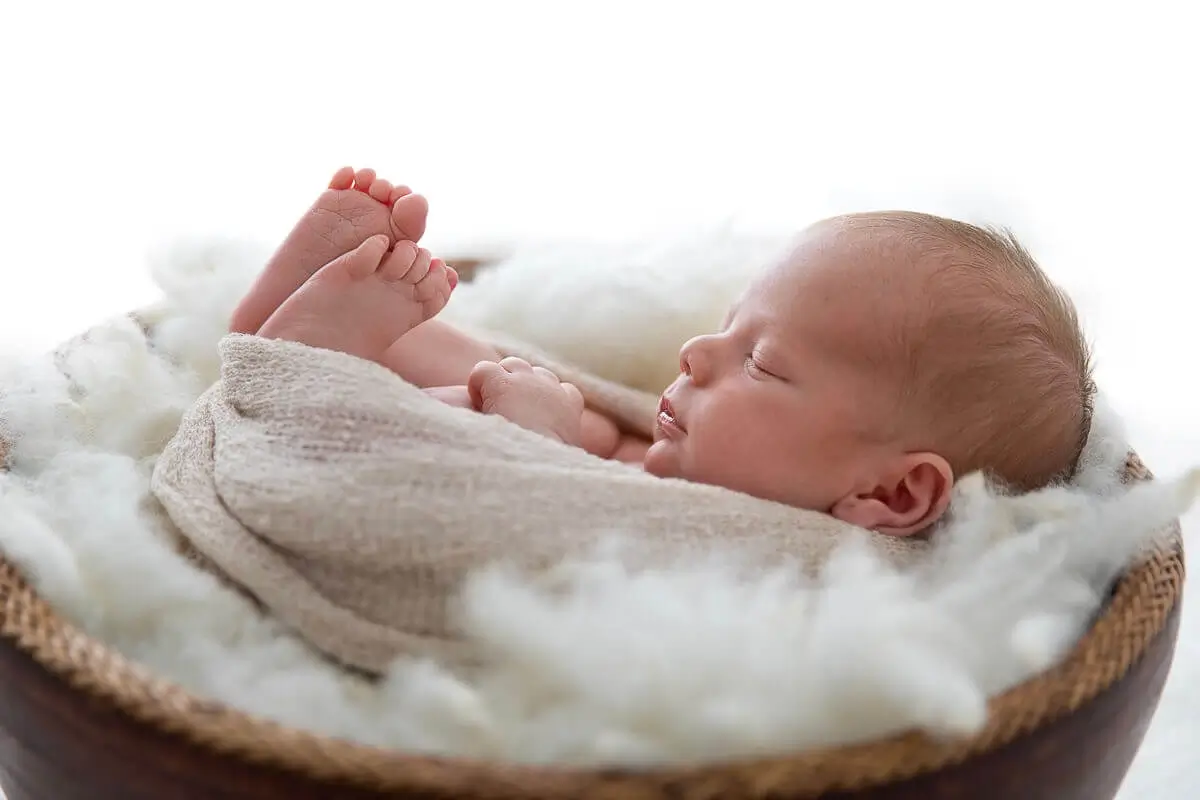
If you’re using a bowl, make sure it’s not breakable (35cm round wooden bowls or cane baskets are perfect), on an even floor and in no danger of tipping over.
If you have heat packs or small beanbags, place them in the bottom for extra stability.
Remember…your baby’s safety is the most important thing during newborn photos.
Get Your Supporting Elements
Now, even though your baby will likely be sleeping, it’s important to make sure your baby is comfortable and supported throughout the photoshoot.
First of all, keep their nappy on! A naked baby will always wee or poop.
Which will make them uncomfortable. And cranky.
And your photoshoot will be over.
Besides, it’s super-easy to cover a nappy with a cute blanket or stretchy wrap.
Now, grab the bath towel and face washers for extra padding.
The best towel to use is one of those thick and fluffy bath towels as it provides lots of cushioning.
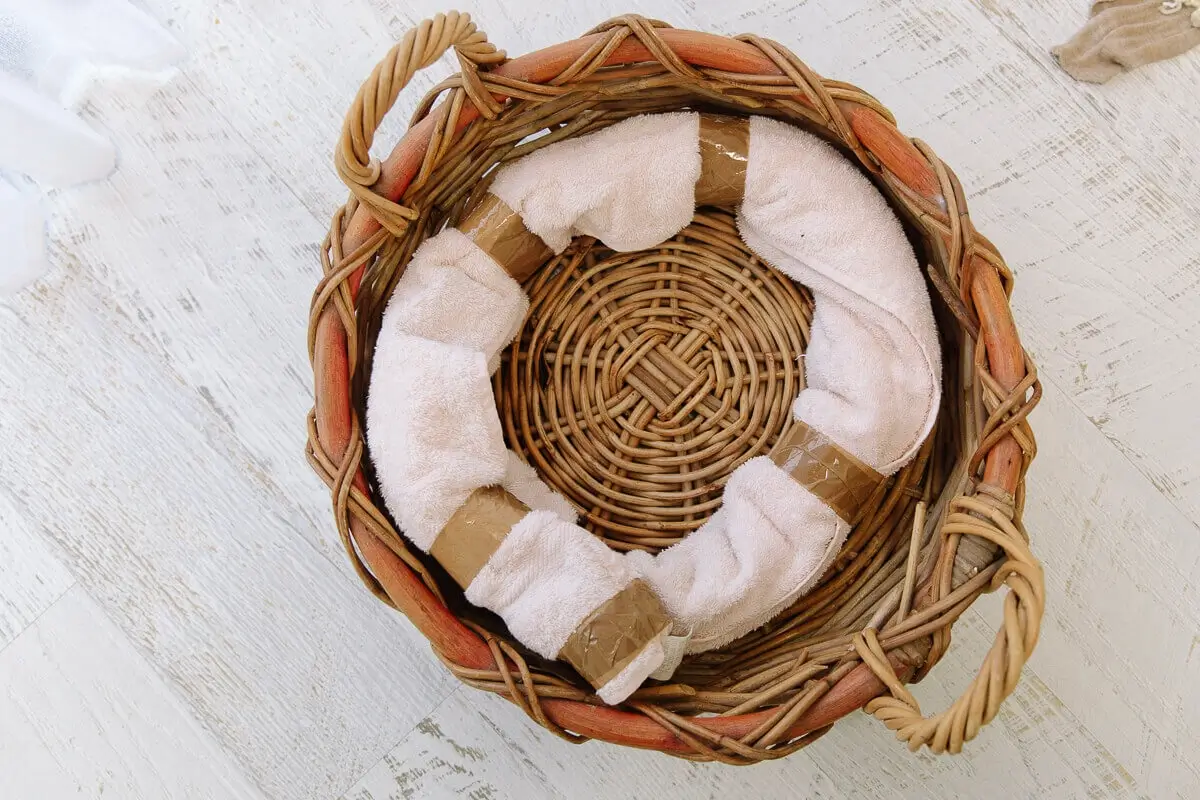
Try rolling it into a long sausage shape like the one below, and use tape to secure it into shape.
Once you’ve secured your towel into a long sausage, place it into your bowl or basket like the picture below.
It’s important to leave a hole in the middle as this is where your baby’s bottom will sit.
Then it’s time to place your chunky knitted blanket over the top.
Be sure to pile it up higher on one side as this will be used as a pillow for baby’s head.
Important -remember to make sure your baby’s head is supported at all times.
Now, you know all those hundreds of face washers you were given at the baby shower?
This is where they come in handy.
The face washers are perfect for propping up baby’s head and baby’s feet once your baby is in position.
Simply hide them under the knitted blanket so they’re out of sight.
Decorate Your Backdrop
There are many ways to decorate your backdrop with items around the home.
Now is the time to get your creativity on.
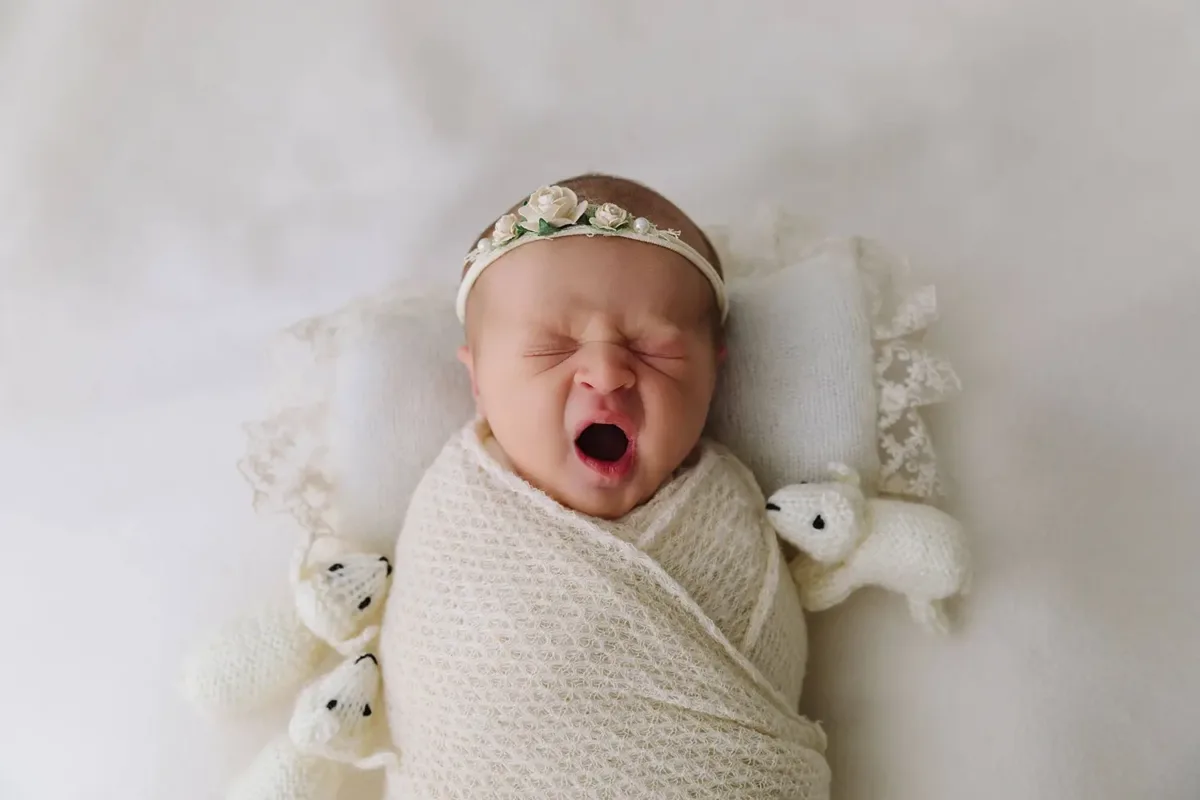
For example, if you have a little girl you can add some fake flowers or greenery from your home decor.
Or better yet, add some fresh flowers from the garden or from floral arrangements you were gifted when your baby arrived.
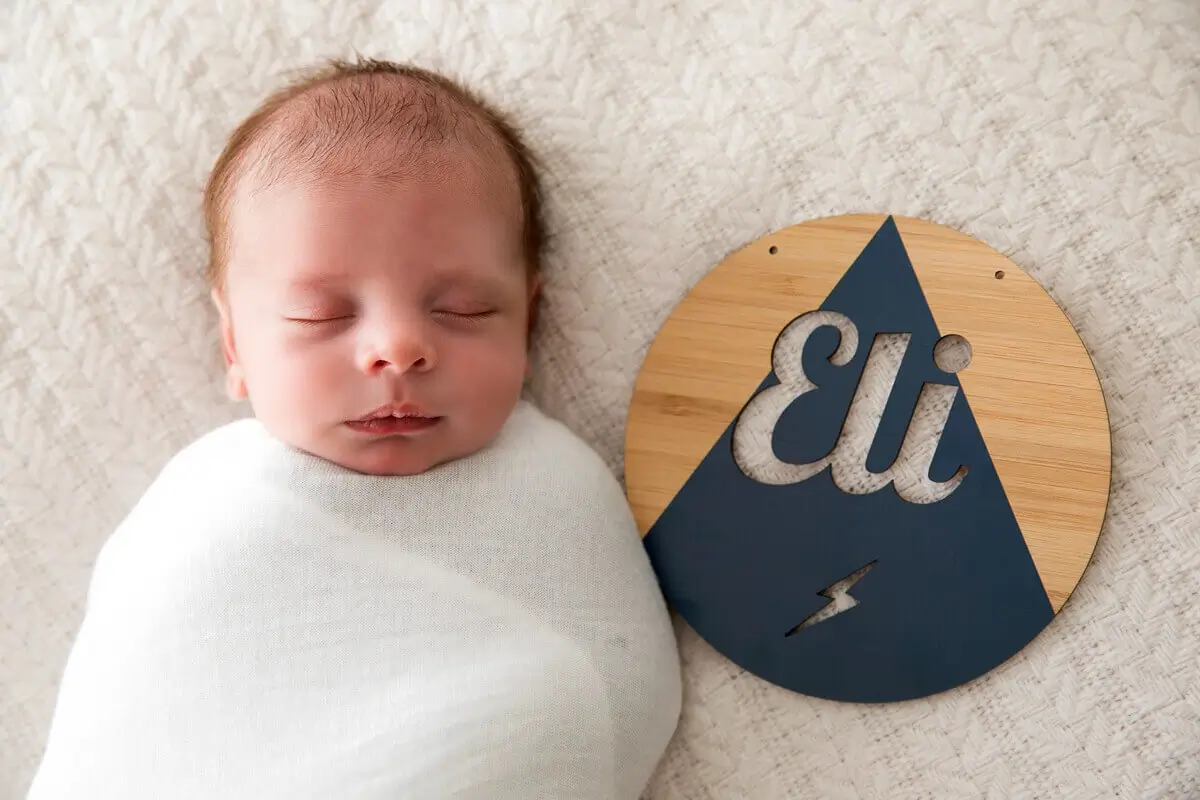
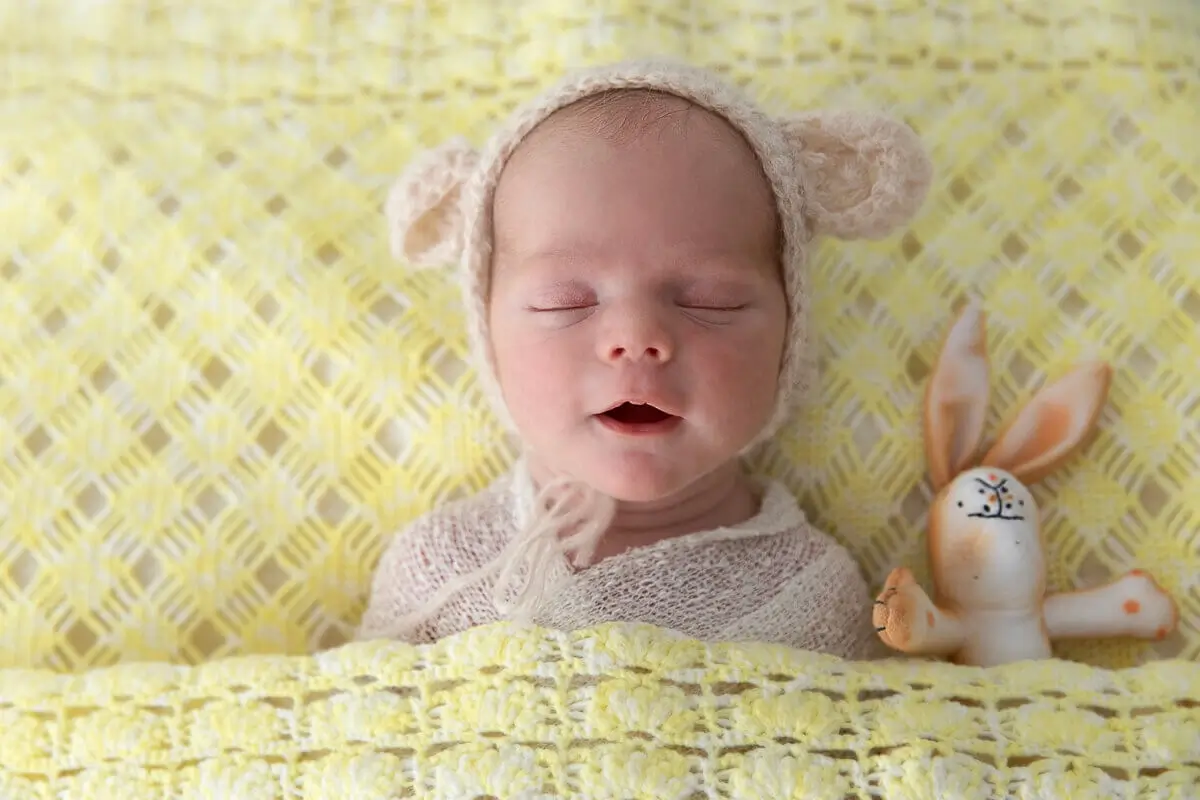
You can use any small items to decorate your baby’s newborn photos from tiny stuffed bears, personalised mementos, or special blankets.
If you have a little boy, you might like to use some pine cones or leaves from outside.
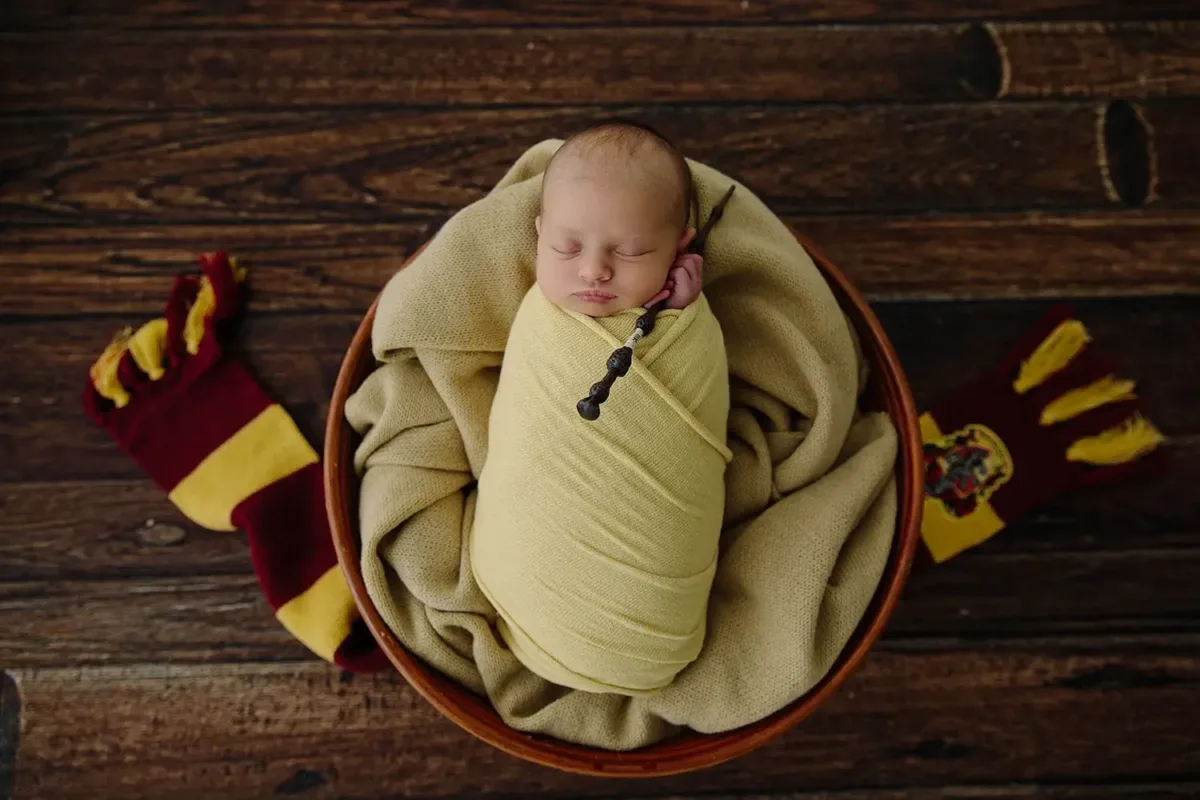
Perhaps baby’s Dad loves Harry Potter (who deosn’t) like the image below?
You can include some of your own personal items like a toy car, Star Wars figurines (yes, I’ve used them LOTS of times) or sporting memorabilia.
There are so many ways to make your baby’s DIY newborn photos special and unique.
Prepare Your Baby
Once your backdrop is ready to go, it’s time to prepare your baby.
As it’s easier to photograph a sleeping baby, schedule your newborn’s photos straight after feed time.
This will ensure your baby is nice and milk drunk and will hopefully, sleep right through.
But awake photos are gorgeous too! So don’t panic if your baby won’t sleep. As long as they are happy and content, you’ll still get beautiful photos.
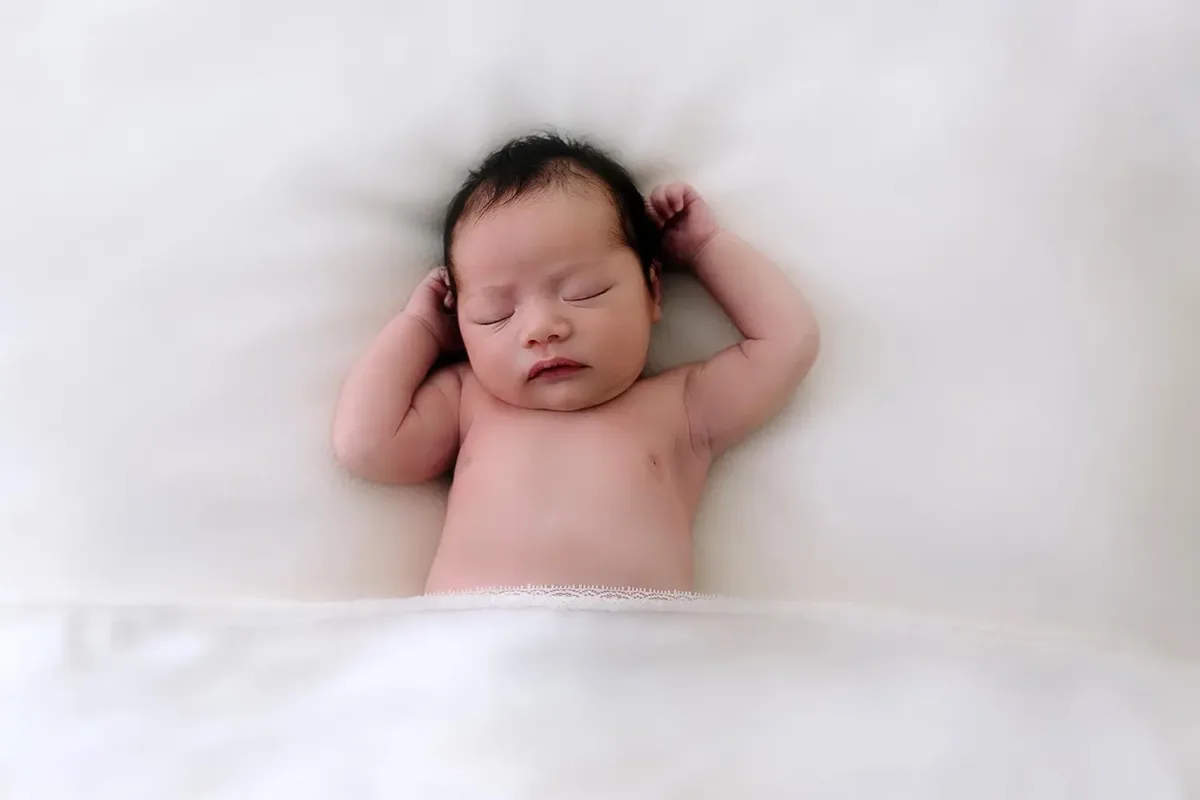
Now if you want to try your luck with nude baby photos, make sure your baby is dressed in loose clothing prior to the shoot.
That will eliminate all those little lines and marks that a singlet or tight onesie can leave on your baby’s delicate skin.
And don’t forget to have some disposable change pads or cloth nappies nearby to clean up any accidents.
There WILL be puddly accidents, I guarantee.
But I recommend leaving your baby’s nappy on and wrapping or covering the nappy with a nice blanket.
Because let’s face it, if you try the nude shoot, you’re going to get pee’d or pooped on.
Or both.
How to Wrap Your Baby
Now the baby wraps and swaddles you buy in the baby section at Big W or Target are terrible for wrapping.
They have no stretch in them, and your baby will be flailing their arms about in no time.
Look for stretchy scarves or even one-metre pieces of fabric knit from Spotlight.
You’ll need to wrap your baby nice and snug.
And stretchy fabric makes it so much easier to keep your baby’s little hands securely tucked away.
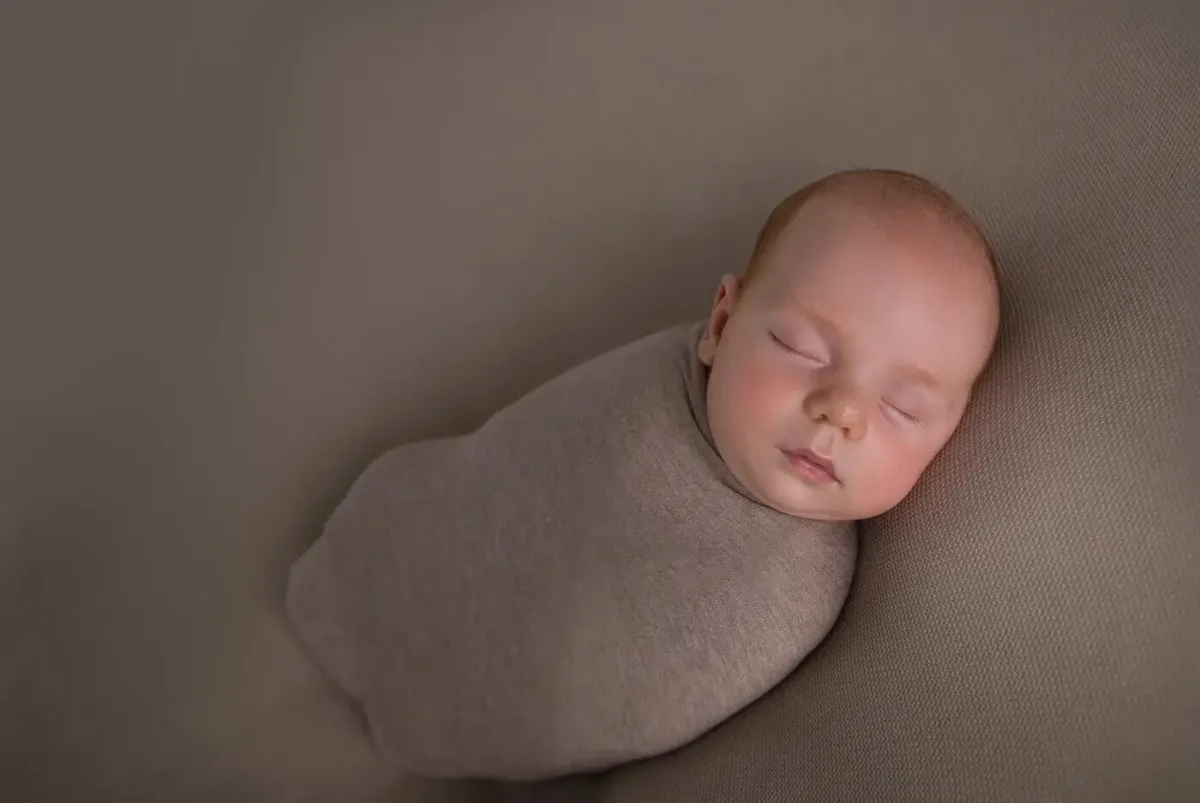
Extra tip. If you double-wrap your baby you’ll keep them nice and warm and avoid having weird shapes and lines in the fabric.
Just imagine you are putting your baby in his or her very own cocoon.
A baby burrito 🙂
Position Your Baby
Okay, so your baby is fed, milk drunk, double-wrapped and ready to position in the bowl.
Place your baby in the bowl, making sure the baby’s head and neck are supported at all times.
You’ll need to position your baby parallel to the window light.
This way the natural light is facing your baby and will eliminate any nasty shadows.
To get the nice squishy pose, this is where the face washers are used.
Fold them into small rectangles and place under baby’s neck so that baby’s chin is touching his or her chest.
Make sure baby’s neck is not in an awkward position and you’re not restricting baby’s airway.
Again, SAFETY is the priority.
You can also place face washers under their bottom to lift the legs.
Grab Your Camera – it’s DIY Newborn Photo Time
Here’s the fun part.
Now, I’m not going into a photography lesson.
I’ll assume everyone is a beginner and you’re simply after better-than-average photos of your newborn.
So, whether you have an iPhone or a digital camera, just stick it in portrait mode. Simple!
Now here are some tips for your DIY newborn photos.
- Try and photograph your baby within 21 days. Baby is sleepier in the early days so it will be much easier to do.
- The angle of the photo makes all the difference. Never photograph up a baby’s nose, it’s not a flattering pose. Instead, position yourself between your baby and the window, squat down and shoot downwards, from head to toe.
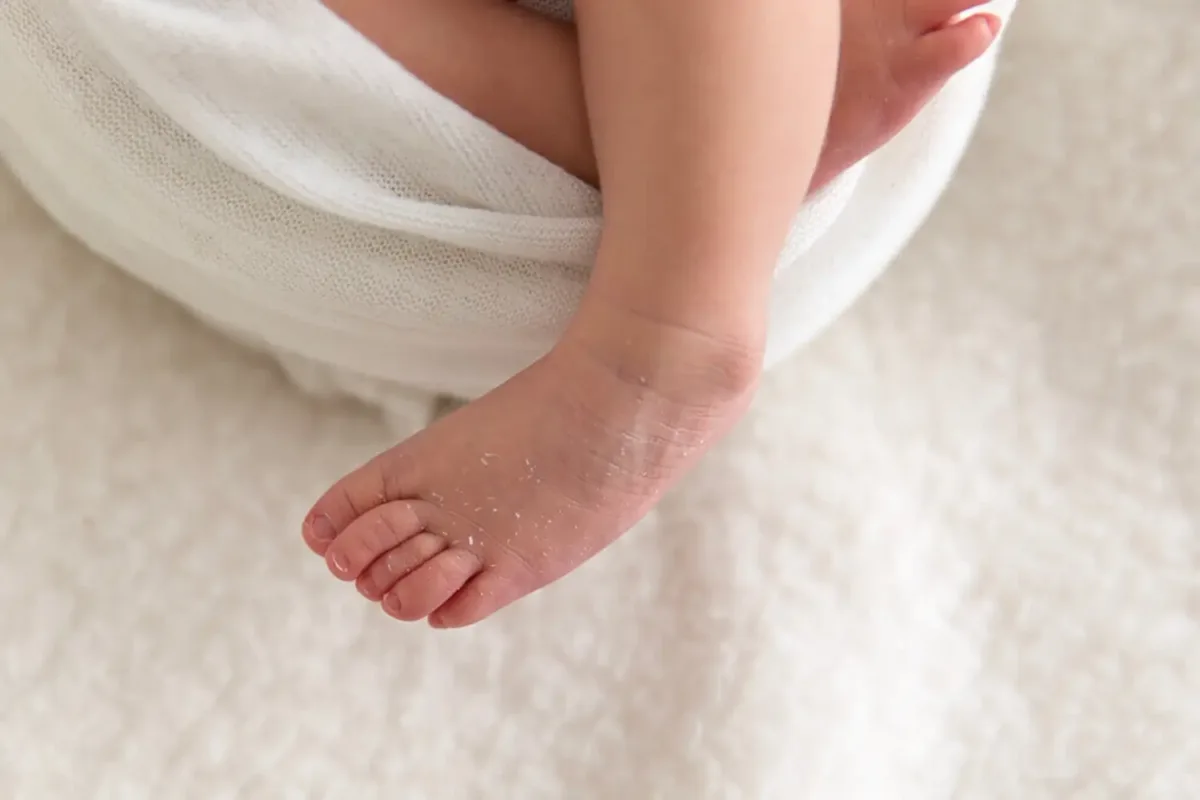
- Make a point of zooming in close to get all the details too. Tiny fingers, toes and noses are always cute.
- Tilt your camera and try out different angles for extra effect.
- Stand above baby and get a full-frame photo of your baby in the bowl.
- Again, zoom in close for a different take on the same shot.
- Experiment with black and white.
- Add extra elements.
Safety For Your DIY Baby Photos
Safety is always a priority and it’s important to remember that all those fancy poses you see on newborn photographer’s websites are often created in Photoshop.
- Never put your baby in a position where baby is unsupported, and could fall or roll.
- Never leave your baby unattended in a prop.
- Do not use breakable or glass props.
- Always use a camera strap.
- Ensure your baby is comfortable.
- Always make sure baby’s head and and neck are supported.
That’s A Wrap
And there you have it.
The ultimate guide to DIY baby photos.
I hope you’ve found this helpful and you don’t miss the opportunity to photograph your own baby.
And if photography isn’t your thing, relax, because it’s mine.
If you’d like to book your baby’s newborn session, drop me a line to learn more about costs and details. If you’d like to view some more cute baby photos, head over here.
Thanks for reading!
Alison xx