How to Save Photographs Damaged by Flood Water and Rain
Nowadays, most people store all their photos online, on their phones, or on a hard drive. But what about those of us with pre-digital photos? Our childhood albums and old family photographs from our ancestors are priceless. Remember the ‘good old days’ of film and printed photos? These old photographs hold our cherished childhood memories, our family history, and are irreplaceable. So the thought of losing any of these photographs to flood water, rain damage, and mold, is devastating. However, if you can act quickly, and use the proper techniques listed below, it’s possible to save your water-damaged photos. This guide will walk you through the steps to salvage and preserve your much-loved photos.
Immediate Actions to Take
1. Act Quickly to Save Water Damaged Photos
Time is crucial when saving water damaged photos. Because the longer they stay wet, the higher the risk of mold, deterioration, and ink running. If you’re able, start the drying process within 48 hours.
2. Handle with Care – Slow and Steady!
Wet photos are fragile! So, avoid touching the surface of your photos directly. As our fingers contain oils, they can smudge or stick to the emulsion layer and cause further damage. Carefully hold your photos by the edges to prevent further damage.
3. Separate Stuck Photos
If photos are stuck together, do not force them apart. Soak them in clean, room-temperature water for 15–30 minutes to gently loosen them. Most importantly – never use hot water, as it can damage the emulsion further.
Step-by-Step Restoration Process
1. Rinse with Clean Water
If flood or storm water has contaminated your photos with dirt or debris, rinse them gently in a basin of clean water. If you have stockpiled distilled water, that’s even better! But be super careful not to scrub or scratch the surface. If your photos aren’t too fragile, you can carefully remove debris with a cotton tip or cotton ball. Be sure to rinse off any remnants before drying.
2. Remove Water Damaged Photos from Albums and Frames
If your photos are stuck in albums or frames, carefully remove them while wet to prevent tearing. If a photo is glued to the glass, let it air dry. If it’s still well and truly stuck to the glass, it’s best to consult a professional before attempting removal.
3. Drying the Photographs
There are two main drying methods. You’ll need a well-ventilated room, fans for increased air circulation, and lots of paper towels or absorbent paper.
Air-Drying Method – best for smaller batches of photos
- Lay photos face-up on a clean, absorbent surface (such as a paper towel or cloth) in a well-ventilated area.
- Do not use printed paper or newspapers, as the ink may transfer.
- Change the absorbent material frequently to speed up drying.
- Avoid direct sunlight and heat sources, as these can cause your photos to warp.
- Again, try to minimise the handling of photographs to avoid further damage to the emulsion.
Freeze-Drying Method – Wait…WHAT?!
I know, right? And while this idea seems completely loopy, it is correct. If you’re unable to dry your damaged photos as soon as possible, the best way to preserve them in the meantime is in the freezer.
- Place photos between sheets of wax paper, place in plastic bags, and store them flat in a freezer.
- This prevents mold growth and gives you time to dry them later.
- Once ready, remove from the freezer and thaw at room temperature before air-drying.
4. Flatten Curling Photos
Once dry, your photos may curl. The best way to avoid this and keep your photographs flat are:
- Place them between clean sheets of wax paper, paper towel, or baking paper.
- Press them under a heavy book for a few days.
- If curling is severe, a photo restoration expert may be needed.
What to Avoid
- Do not use hairdryers, irons, or microwaves, as the heat will further damage the photos.
- Avoid stacking wet photos together, as they may permanently stick.
- Do not attempt to peel off damaged emulsion, as this may remove the image entirely.
Digitising Your Photos for Future Preservation
Once you’ve cleaned, unstuck, dried, and salvaged your photos as best you can, plan on future safekeeping by digitising your old photos. Also, if your photos have been permanently damaged by water, scanning and digitising your photos is the best way to get them restored.
1. Scan and Digitise
Once your photos are dry, scan them at a high resolution to create digital backups. This ensures you have a copy in case of future flood and water damage. If you don’t have access to a high resolution scanner, your next option is to photograph them. Most smart phones are capable of photos with a decent quality file size. So, find a room with the best lighting available and photograph your photos. Then save them to an external device or cloud, at the largest possible file size.
2. Use Photo Editing Software
If you’re used to photo-editing software, Adobe Photoshop is your best option to restore your damaged photos. If you don’t have access to Adobe, there are lots of free or pay as you need, alternatives like GIMP, Picstart, Akvis and VancAI to name a few.
Some of these editing platforms use AI while others let you have control over the editing and restoration process. But they all will help restore color, fix water stains, and improve clarity.
The editing software you use will depend on your skill level, the degree of restoration needed, and price. It’s just a matter of having a look around and finding the right platform for you.
3. Store in a Safe Place
- Keep printed photos in archival-quality storage boxes or albums.
- Store digital copies on cloud storage or external drives. Make sure you have back-ups for safekeeping.
- Consider waterproof containers for extra protection against future water damage.
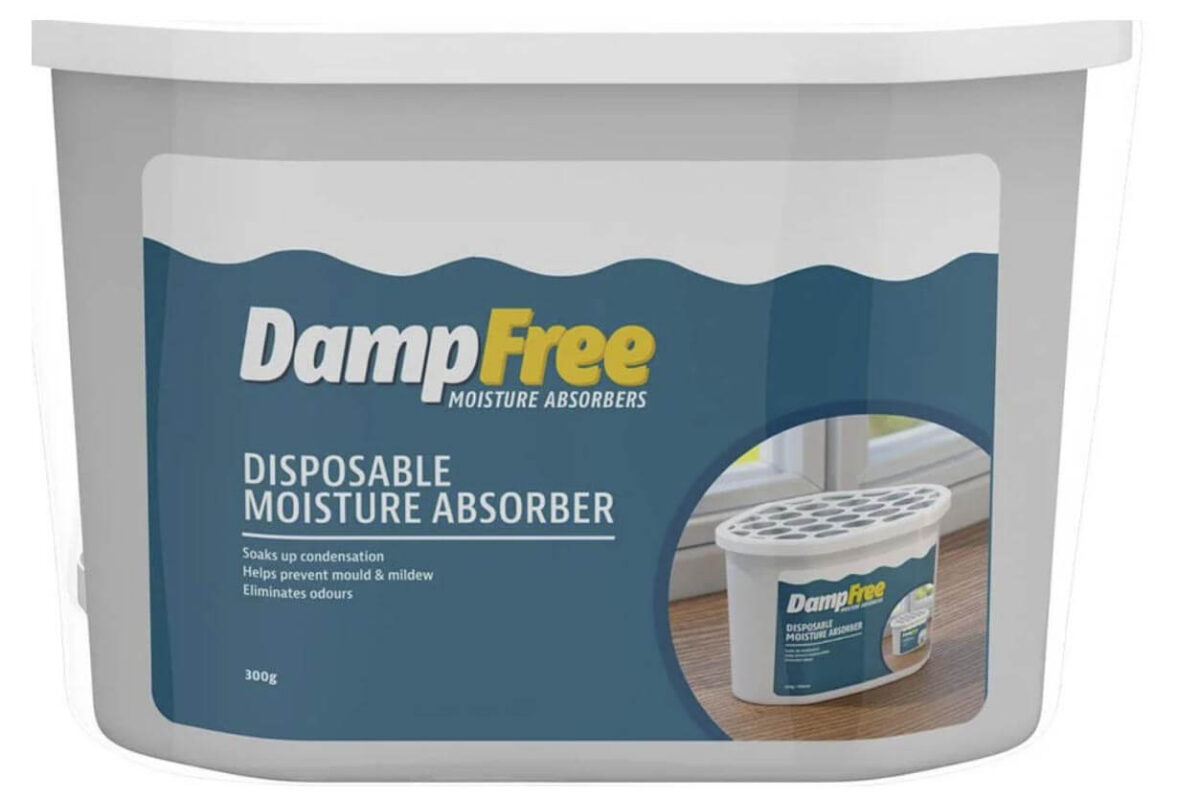
- If you’re in an area with high humidity, store your photos with moisture absorbent packs. These packs are cheap and available from Bunnings, Big W, Kmart, Coles and most large retailers.
When to Seek Professional Help
If your photographs are severely damaged or too far gone, (e.g. torn, stuck together beyond separation, or have severe mold), consult a restoration professional. They’ll have specialised tools and software to restore images that may otherwise be lost.
Good Luck, Stay Safe, and Stay Dry
And there you have it.
I hope that wherever you’re reading this from, you’re doing okay and your family is safe. But if you have suffered damage from this wild weather and flood waters, I hope you’ve found this article helpful.
As a photographer, I know how important your family photos are. And while water-damaged photos may seem unsalvageable at first, many can be saved. You just need patience (which I’m sure is thin right now) and the right techniques.
Key Points to Remember When Saving Water Damaged Photos
Act fast, dry your photos properly, and to digitise them for future safekeeping.
And if you’ve been caught in this bad weather, I hope this guide will help you save your water damaged photos.
If you have any questions about this blog, please drop me an email here.
Take care and stay safe,
Alison x